
Used by NASA · the FBI · the U.S. Navy · Since 1999
The Data Recovery Process: How Evaluation, Diagnosis, and Recovery Actually Work
- No Data, No Data Recovery Fee
- Free evaluation before any work begins
- 27+ years of recovery experience
- Every device, every failure type
What Are the Steps in Data Recovery?
A free evaluation to confirm what’s recoverable, diagnosis and sector-by-sector imaging of the device before anything else is touched, choosing the right method for that specific device and failure, the recovery work itself, and a reviewed file list delivered on fresh media. Nothing is written back to the original device at any step.
“The device tells us what it needs. We don’t pick a method first and hope the device cooperates.” — Bruce Cullen, founder, eProvided
Most people who search for how data recovery works have not decided to send anything in yet — they want to know what actually happens to a drive before they trust it to a stranger. After 27+ years running recovery on hard drives, SSDs, RAID arrays, phones and NAND flash media, the process is the same shape every time even though the failure and the fix change device to device: evaluate first, image before touching anything, choose the method the device actually needs, recover, then hand back a reviewed file list on fresh media. This page walks through each step honestly, including the parts marketing pages usually skip.
Data recovery has five real steps: a free evaluation to see what’s wrong, diagnosis and a full sector-by-sector image of the device before any recovery work starts, choosing board-level repair, a donor-board transplant, or chip-off recovery based on that specific device and failure, the recovery itself, and a reviewed file list delivered on new media with the original device returned. The method is never picked in advance — it depends on whether the device’s data can be reached directly or needs its original processor to unlock it first.
Do RIGHT NOW
- Stop using the device the moment you notice a problem — every extra read or write can overwrite recoverable data
- Power a failing drive off rather than restarting it repeatedly — repeated spin-ups stress a mechanically failing drive further
- Write down exactly what happened and when (a noise, a drop, a power loss, an error message) — this shortens diagnosis
- Ask for a written evaluation and fixed quote before any recovery work begins
DON’T Do
- Don’t run chkdsk, a repair utility, or recovery software on the original device — these write to the drive and can overwrite what’s recoverable
- Don’t open a hard drive’s casing yourself — the platters need a particle-controlled environment, not a kitchen table
- Don’t assume every lab uses the same method — a shop that only offers one technique will tell you it’s the right one whether or not it is
- Don’t send a device anywhere without confirming what happens if nothing is recoverable
Already dealing with a failed drive or device? You can find out for free what’s recoverable » or call (866) 857-5950 to talk it through first.
Step 1: The Free Evaluation
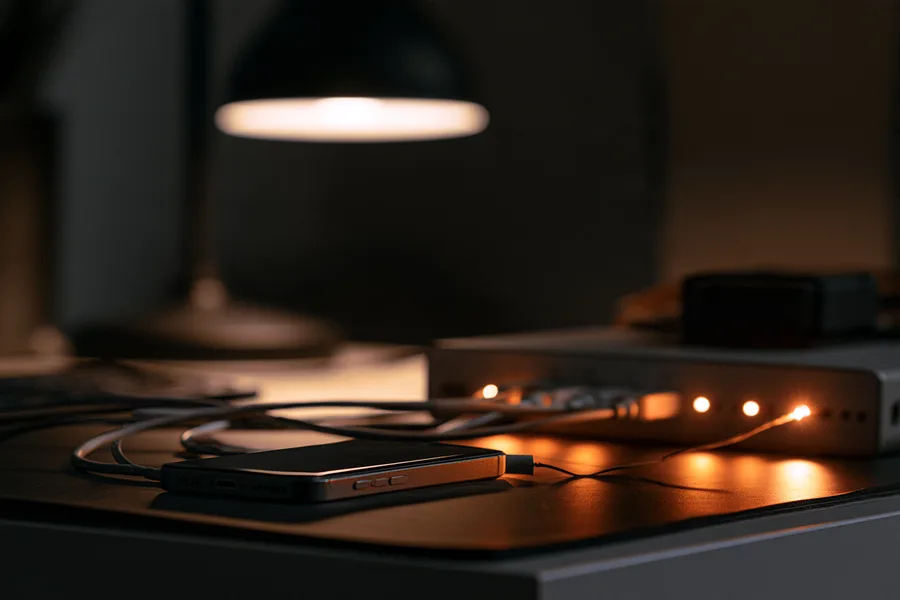
Every case starts the same way: a free evaluation of the specific device, not a generic quote based on device type alone. Our engineers connect the drive or device using write-blocked, read-only methods and check what the failure actually is — a clicking hard drive, a dead SSD controller, a corrupted RAID array, a water-damaged phone, or a card that won’t mount. Nothing about the evaluation changes data on the device; the goal is information, not action. At the end of it you get a plain-English explanation of what’s wrong, an honest estimate of what’s recoverable, and a fixed quote — before you decide anything. If nothing is recoverable, there’s no fee, which is also why the evaluation itself carries no obligation. This step also sets expectations honestly — if a device needs a specialized method that takes several days, or if the damage is severe enough that success isn’t guaranteed, you hear that up front, not after paying for shipping and waiting a week to find out.
Step 2: Diagnosis and Sector-by-Sector Imaging
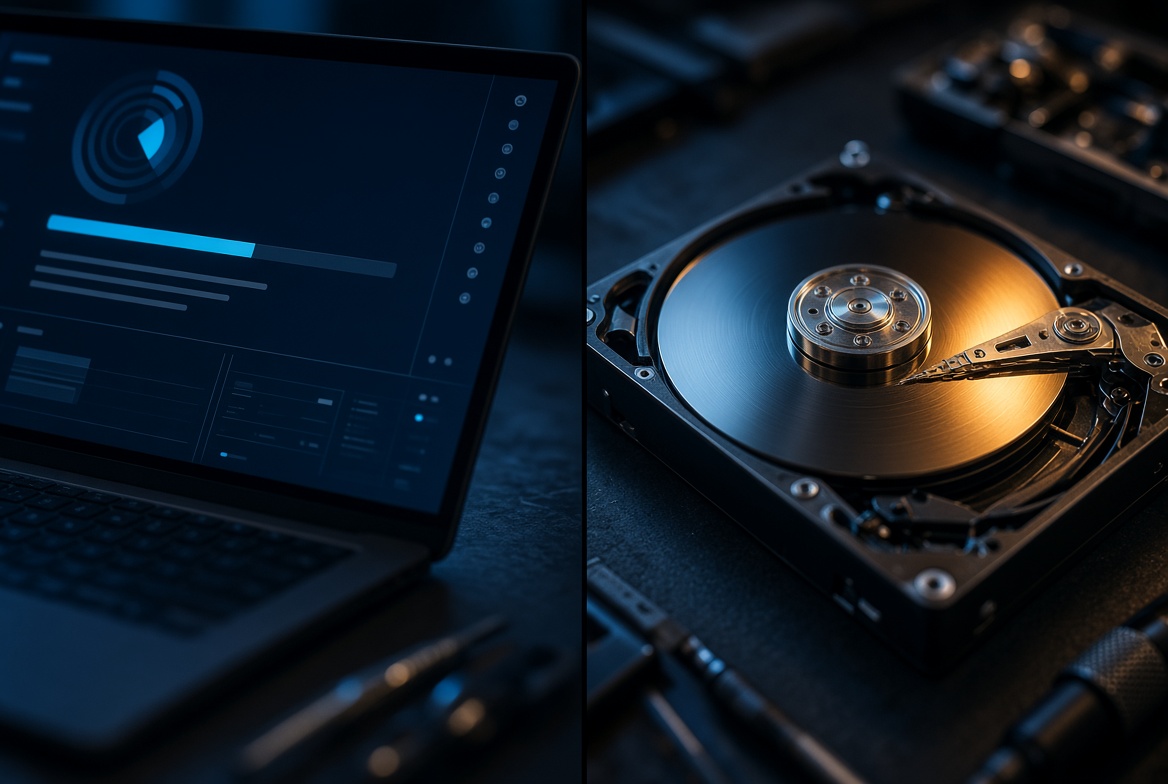
Once a device is accepted for recovery, the first real work is imaging it — making a complete, sector-by-sector copy of every accessible bit before anything is repaired, rebuilt, or extracted. This matters because a device with mechanical or electronic damage can degrade further with every read; working from a single, careful image means the original only has to survive one pass, and every recovery attempt after that runs against the copy, not the failing hardware itself. On a healthy-enough drive this imaging can happen directly. On a drive that won’t spin up, has damaged heads, or has a dead controller board, imaging itself requires the repair or bypass described in the next step first — you cannot copy sectors you cannot yet reach. Diagnosis at this stage also separates physical failure (mechanical damage, a burned controller, water intrusion) from logical failure (file-system corruption, a bad partition table, accidental deletion), because the two require different imaging approaches even on the same device type.
Step 3: Choosing the Right Recovery Method

This is the step that separates an honest recovery process from a one-size-fits-all shop, and it’s worth explaining plainly rather than glossing over. The gating question for every device is simple: is the decryption key tied to a processor that is separate from the memory chip itself? If yes — as with many modern encrypted phones and self-encrypting SSD controllers, where the key is fused into a chip other than the flash memory — then reading the memory chip directly returns only ciphertext, so our engineers work at board-level repair on the original board first, or a donor-board transplant that moves the working processor and memory together onto healthy hardware, so the original silicon can decrypt the data the way it was designed to. If no — a standard USB drive, most SD and microSD cards, an unencrypted hard drive, or an SSD with no key binding — then chip-off recovery, reading the memory directly on specialized hardware, is the correct and most direct method. Put simply: our engineers determine whether board-level repair, a donor-board transplant, or chip-off recovery is the right approach based on the specific device and its failure — never one blanket method applied to every device that walks in the door. Method priority, in order, is board repair, then donor transplant, then chip-off; we don’t reach for the most invasive option when a more direct one restores the original silicon’s ability to decrypt on its own.
This is also why a shop that advertises only one technique — only chip-off, or only board swaps — will sometimes get it wrong on the devices that don’t fit that one method. A drive that needs board-level repair won’t give up its data to a chip-off attempt, and a plain unencrypted card doesn’t need the added risk of desoldering when a direct read works. The method is a decision made about the specific device in front of us, not a house style applied everywhere.
Step 4: Recovery Execution
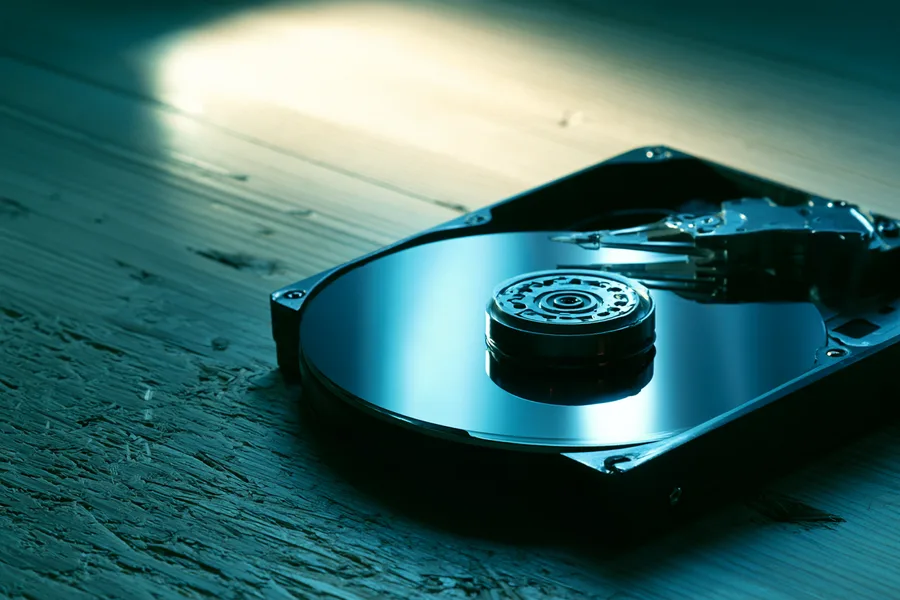
With the method decided and the device imaged, recovery execution is where the actual extraction happens: rebuilding a RAID array’s stripe order, repairing or bypassing a burned controller board on a failing hard drive, reading NAND flash directly off a freed chip, or reconstructing a corrupted file system from raw sectors. This step can take anywhere from a few hours to several days depending on the failure — a straightforward logical recovery moves fast, while a multi-drive RAID rebuild or a chip-off read on a large-capacity SSD takes longer because every extracted sector has to be verified and reassembled correctly. Throughout this step, work happens on the image or the freed component, never by repeatedly experimenting directly on a customer’s only copy of their data. Progress is checked continuously rather than assumed at the end — a RAID rebuild is validated stripe by stripe, and a chip-off read is checked block by block, so a problem is caught while it’s still fixable instead of discovered only after the whole extraction is declared finished.
Step 5: File Review and Delivery
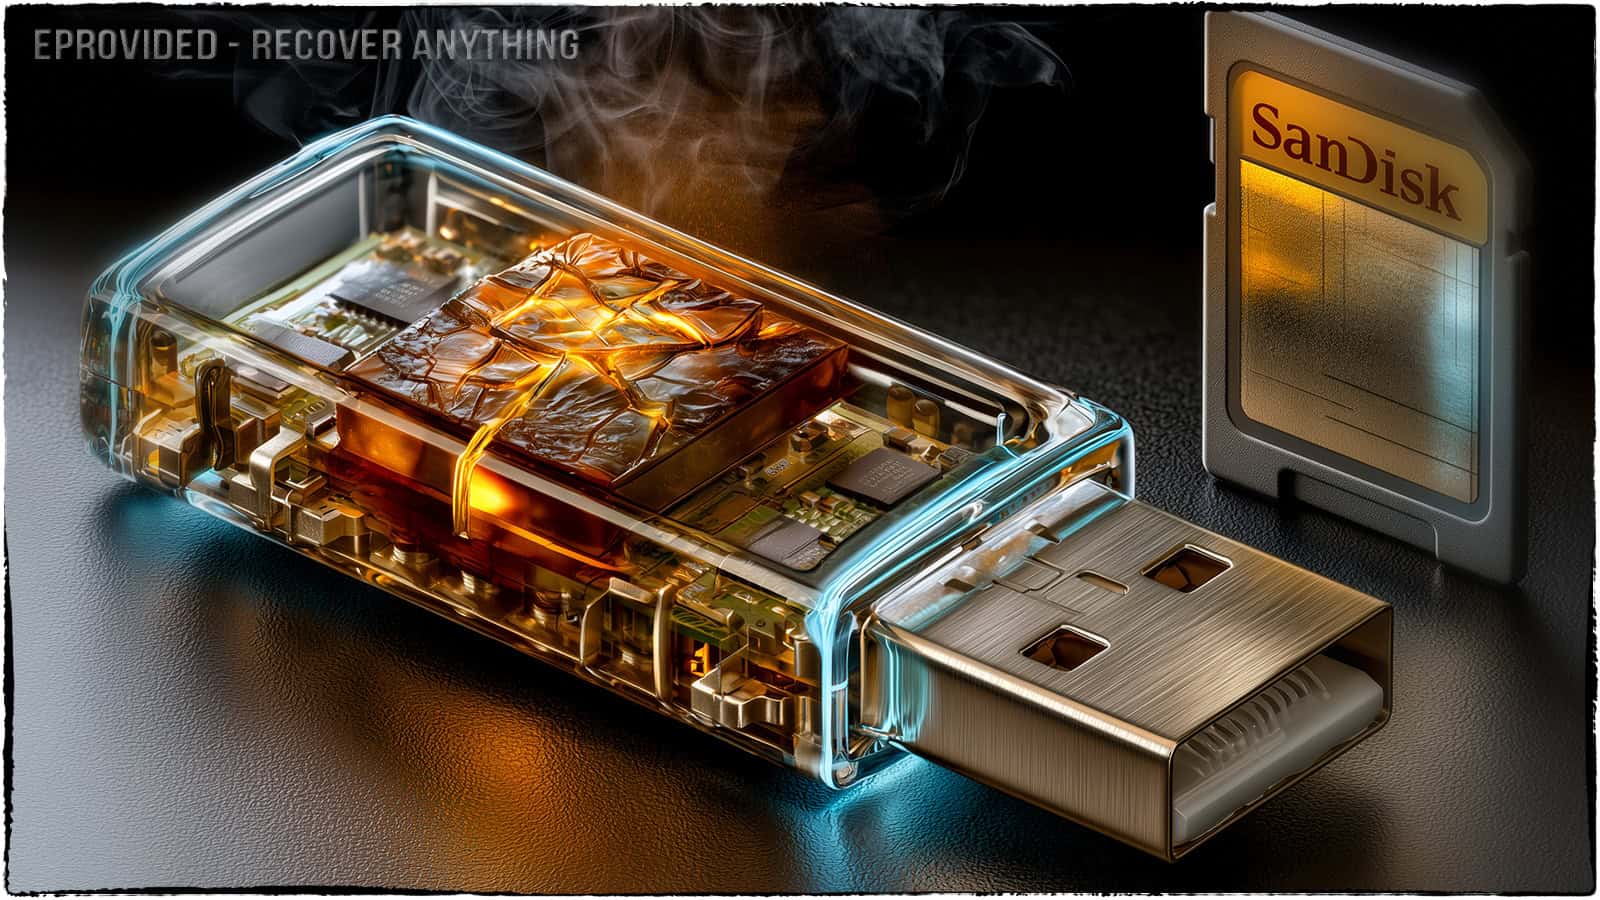
Recovery ends with verification, not assumption. Before anything is delivered, the recovered data is checked file by file — folders open, a water-damaged phone’s photos render, documents aren’t truncated, video files play — and you get an actual file list to review, not a vague percentage. Once you’ve confirmed what matters is there, the recovered data is delivered on fresh encrypted media (a new drive) or through a secure download, and your original device is returned to you. Nothing is ever written back to the original device, and no copy of your data stays on our systems after delivery is confirmed. If a portion of the device genuinely can’t be recovered — a sector that was physically destroyed before the device ever reached us, for example — you’re told exactly what that portion was, rather than being handed a partial recovery with no explanation of the gap.
What Our Customers Say
Frequently Asked Questions
Recovery Services for Every Storage Device Class
Whatever step you’re at, eProvided covers every storage class from one lab: hard drive data recovery (Seagate, Western Digital, Toshiba mechanical and logical failures), SSD recovery (Samsung, Crucial, WD, NVMe & SATA), and memory card recovery (SD, microSD, CompactFlash, every format and brand). See all our data recovery services →
More Data Recovery Guides
- About eProvided — who we are and why devices from NASA to home users end up on this bench.
- SD and microSD card recovery — the chip-off path for cracked or unreadable memory cards.
- Bumped your USB drive? What happens next — what actually breaks a drive before it ever reaches a recovery lab.
Knowing the process doesn’t make a failure any less stressful — but it does mean you know exactly what’s happening to your device at every step, and why.
Start Your Free Evaluation
Our engineers will confirm what’s wrong, what’s recoverable, and the exact method your device needs — during a free evaluation. No obligation, confidential.
Start My Free Evaluationor call (866) 857-5950 now
Related Recovery Services
Whatever stage your device is at, these recovery services cover every storage class in one lab: